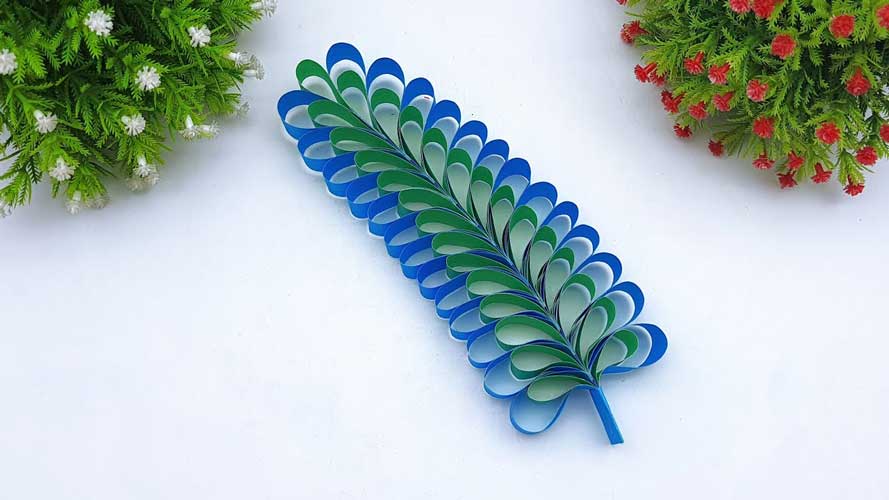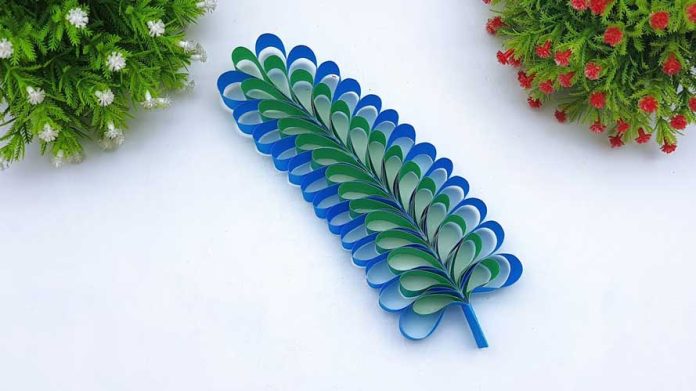
Do you want to add some natural beauty to your home decor without the hassle of maintaining real plants? Paper decorative leaves are the perfect solution! Not only are they easy to make, but they also provide endless possibilities for customization. Whether you want to create a fall-themed centerpiece or add a touch of greenery to your office, these paper leaves are a great option. In this step-by-step guide, we will show you how to make paper decorative leaves that look just like the real thing.
Materials Needed:
- Green or colored paper (cardstock or construction paper works best)
- Pencil
- Scissors
- Glue
- Paintbrush (optional)
- Water (optional)
Step 1: Choose Your Leaf Shape
The first step in making paper decorative leaves is to choose your leaf shape. You can either print out a leaf template or draw your own leaf shape on a piece of paper. Some popular leaf shapes include maple, oak, and birch leaves. Once you have your leaf shape, cut it out and use it as a stencil for the rest of your leaves.
Step 2: Trace and Cut Out Your Leaves
Using your leaf stencil, trace the shape onto your colored paper. You can trace as many leaves as you need, depending on the size of your project. Once you have traced all of your leaves, cut them out carefully with a pair of scissors. Make sure to cut along the lines as accurately as possible to achieve a realistic-looking leaf.
Step 3: Create Veins in Your Leaves
To make your paper leaves look more realistic, you can create veins in them. Use a pencil to draw veins onto your leaves, following the natural patterns of real leaves. You can also add texture to your leaves by lightly crumpling them or using a paintbrush to add water and create a watercolor effect.
Step 4: Glue Your Leaves Together
To create a fuller look, you can glue multiple leaves together. Apply a thin layer of glue to the back of one leaf and place another leaf on top of it, lining up the edges. Repeat this process until you have the desired number of leaves. Allow the glue to dry completely before moving on to the next step.
Step 5: Display Your Paper Decorative Leaves
Once your paper decorative leaves are complete, it’s time to display them! You can use them in a variety of ways, such as creating a fall-themed centerpiece or adding them to a wreath. You can also use them as decorations for special occasions, such as weddings or parties.
Step 6: Add a Stem
If you want your paper leaves to have a more realistic look, you can add a stem. Cut a strip of brown paper or use a brown marker to color a strip of white paper. Roll the strip into a tight tube and apply a thin layer of glue to the end. Insert the stem into the bottom of your leaf, holding it in place until the glue dries.
Step 7: Create a Variety of Sizes and Colors
To make your paper decorative leaves look more natural, create a variety of sizes and colors. You can use different shades of green or add in some red, orange, or yellow for a fall-themed look. You can also make some leaves smaller and some larger to create a more diverse display.
Step 8: Use Different Types of Paper
Experiment with different types of paper to create unique textures and effects. For example, you can use tissue paper to create a more delicate look or use patterned paper to add some visual interest. You can also use metallic or glitter paper for a more festive look.
Step 9: Add Details with Paint or Markers
To make your paper decorative leaves look even more realistic, you can add details with paint or markers. For example, you can use a green marker to add veins to your leaves or use a brown marker to add some texture to the stem. You can also use a paintbrush to add some water and create a watercolor effect.
Step 10: Get Creative with Display Ideas
Once you’ve created your paper decorative leaves, get creative with how you display them. You can use them in a wreath, create a garland, or attach them to a piece of twine to make a banner. You can also create a centerpiece by arranging your leaves in a vase or bowl.
In conclusion, making paper decorative leaves is a fun and easy way to add some natural beauty to your home decor. With just a few materials and some creativity, you can create a variety of leaves that look just like the real thing. Whether you’re an experienced crafter or just starting out, this project is perfect for anyone who loves DIY home decor. So why not give it a try and see what beautiful creations you can come up with?


