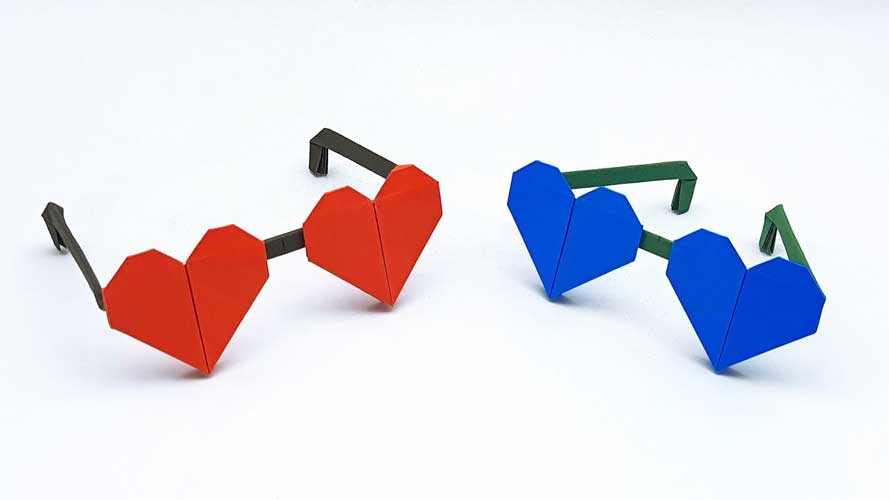
Sunglasses are a must-have accessory that not only protects your eyes from harmful UV rays but also adds a style statement to your outfit. While there are a plethora of sunglass options available in the market, making your own paper sunglasses can be fun and budget-friendly alternative. In this step-by-step guide, we will walk you through the process of making your own paper sunglasses.
Materials Needed:
- 2 sheets of colored construction paper
- Scissors
- Glue stick
- Ruler
- Pencil
- Black marker
- Thin cardboard (optional)
Step 1: Measure and Cut Out the Sunglass Frame
Take one of the colored construction papers and measure and mark a rectangle of 6 inches by 2 inches using a ruler and a pencil. Cut out the rectangle carefully using scissors. This rectangle will serve as the frame of your sunglasses.
Step 2: Cut Out the Lenses
Take the second colored construction paper and measure and mark two rectangles of 2 inches by 1 inch each. These rectangles will serve as the lenses of your sunglasses. Cut them out carefully using scissors.
Step 3: Glue the Lenses to the Frame
Using a glue stick, apply glue to the back of one of the lenses and stick it to the frame, making sure to align it with the top edge of the frame. Repeat this step for the second lens, making sure to align it with the bottom edge of the frame.
Step 4: Create the Bridge
Using the remaining colored construction paper, measure and cut out a thin strip of paper, approximately 3 inches by 0.5 inches. Fold the strip in half and apply glue to one half of the strip. Attach the folded strip to the top of the lenses and press it down to secure it. This will serve as the bridge of your sunglasses.
Step 5: Add Arms to the Sunglasses
Using the remaining paper, measure and cut out two long strips, approximately 6 inches by 0.5 inches each. Fold the strips in half and apply glue to one-half of each strip. Attach each strip to the sides of the frame, making sure to align the fold with the top edge of the frame. Press down to secure them in place.
Step 6: Strengthen the Sunglasses (Optional)
If you want to make your paper sunglasses sturdier, you can add a layer of thin cardboard to the back of the frame. Measure and cut out a rectangle of thin cardboard that matches the size of the frame. Apply glue to the back of the frame and attach the cardboard, pressing down to secure it.
Step 7: Decorate Your Sunglasses
Using a black marker, draw designs or patterns on your sunglasses to give them a personalized touch. You can also use stickers, glitter, or other embellishments to decorate them further.
Congratulations! You have successfully made your own paper sunglasses. They may not be as sturdy as the real deal, but they are a fun and creative way to add a pop of color to your outfit. You can experiment with different colors and designs to make multiple pairs of sunglasses. Enjoy your new accessory!


