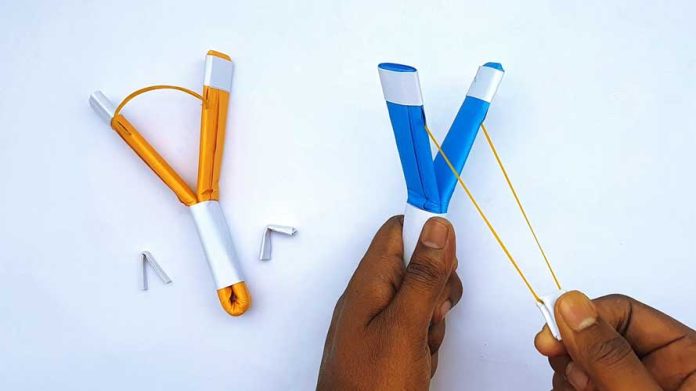
Are you ready for some action-packed fun? In this step-by-step guide, we will show you how to create a strong paper slingshot that will provide hours of entertainment. Whether you’re planning a playful battle or seeking a unique target-shooting experience, this guide will help you craft a reliable and powerful paper slingshot. So, let’s dive in and discover how to make your very own strong paper slingshot!
Materials Needed:
Before we get started, gather the following materials:
- Sturdy cardboard or heavy cardstock
- Scissors
- Ruler
- Pencil
- Tape
- Rubber bands
- Small projectile (e.g., paper balls, soft foam balls, or cotton balls)
Step 1: Cardboard Frame Take your sturdy cardboard or heavy cardstock and cut out two identical rectangles measuring approximately 6 inches by 3 inches. These will serve as the main frames of your slingshot.
Step 2: Shape the Frame On each cardboard rectangle, draw a line parallel to one of the longer edges, approximately 1 inch from the top. From the top corners, draw diagonal lines connecting to the ends of the parallel line, creating a triangular shape at the top. Repeat this on both cardboard pieces.
Step 3: Cut and Attach Handle On one of the cardboard frames, cut a strip along the bottom edge, measuring approximately 1 inch wide. This will serve as the handle. Align the handle strip with the bottom edge of the second cardboard frame and secure them together using tape, forming an “H” shape.
Step 4: Rubber Band Attachment With the cardboard frames aligned, take a rubber band and stretch it around the top of the triangular shape on one side. Secure the rubber band to the cardboard using tape. Repeat this step on the other side of the slingshot, ensuring the rubber bands are parallel to each other.
Step 5: Projectile Pocket Cut a small rectangular piece of cardboard, measuring approximately 2 inches by 1 inch. Fold it in half lengthwise to form a pocket. Attach this pocket to the center of the rubber bands using tape, ensuring it is securely held in place.
Step 6: Test and Adjust Load your small projectile into the pocket of the slingshot. Hold the handle firmly, pull back on the pocket, and release to launch the projectile. Observe the flight and adjust the tension of the rubber bands as needed to achieve the desired strength and accuracy.
Step 7: Safety Precautions It’s essential to prioritize safety when using a paper slingshot. Ensure you have a clear and open area for shooting, away from people, fragile objects, or anything that could be damaged. Always exercise caution and never aim the slingshot at people or animals.
Conclusion:
Congratulations on creating your very own strong paper slingshot! With this step-by-step guide, you now have a reliable and fun projectile-launching device. Remember to enjoy your slingshot responsibly and prioritize safety at all times. Experiment with different rubber band tensions and projectiles to fine-tune the strength and accuracy. So, gather your materials, unleash your inner adventurer, and embark on thrilling target-shooting adventures with your homemade paper slingshot. Get ready to experience the power and excitement of launching projectiles with precision and skill!


