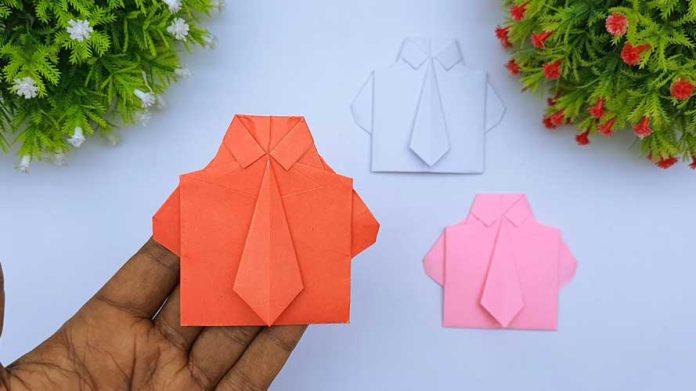
Origami, the Japanese art of paper folding, offers a world of creativity and elegance. In this comprehensive guide, we will take you through the step-by-step process of folding an origami shirt. Whether you’re a beginner or have some experience with origami, this tutorial will help you create a charming paper shirt that can be a delightful decoration or a unique gift for someone special. Let’s dive into the fascinating world of origami and learn how to fold an origami shirt!
Materials Needed: To get started, gather the following materials:
- A square sheet of origami paper (solid color or patterned)
- A flat and clean surface to work on
Step 1: Prepare the Origami Paper Begin by selecting a square sheet of origami paper. If you don’t have origami paper, you can easily create a square by folding a rectangular sheet diagonally and trimming off the excess. Make sure the paper is free from creases and lays flat on your working surface.
Step 2: Fold the Collar Position the origami paper with the colored side facing down. Fold the paper in half horizontally, aligning the edges precisely. This fold will form the collar of the origami shirt.
Step 3: Form the Shirt’s Body Next, unfold the paper to its original square shape. Then, fold the top edges of the paper towards the center, meeting at the horizontal crease created in the previous step. Smooth out the folds to create the body of the shirt.
Step 4: Create the Sleeves Take one of the bottom corners of the paper and fold it diagonally towards the center, aligning it with the bottom edge of the shirt’s body. Repeat this step for the other corner. These folds will form the sleeves of the shirt.
Step 5: Fold the Cuffs To add a touch of detail to the sleeves, fold the tip of each sleeve upward to create the cuffs. You can adjust the size of the cuffs according to your preference by folding more or less of the tip.
Step 6: Make the Collar Stand Out Fold down a small portion of the collar to make it visible and add depth to the shirt’s design. Adjust the size of the folded collar as desired, ensuring it complements the overall appearance of the origami shirt.
Step 7: Final Touches and Adjustments Take a moment to review your origami shirt and make any necessary adjustments. Smooth out any creases and ensure all the folds are neat and precise. Tug gently at the sleeves to create a slight puff, giving the shirt a realistic appearance.
Conclusion: Congratulations! You have successfully folded an origami shirt. With practice, you can experiment with different paper colors and patterns to create a diverse collection of origami shirts. These charming paper creations make excellent decorations, personalized gifts, or even placeholders for special events. Origami is a beautiful art form that offers endless possibilities for creativity and relaxation. So, grab some origami paper, follow the step-by-step instructions in this guide, and immerse yourself in the captivating world of origami shirt folding.


