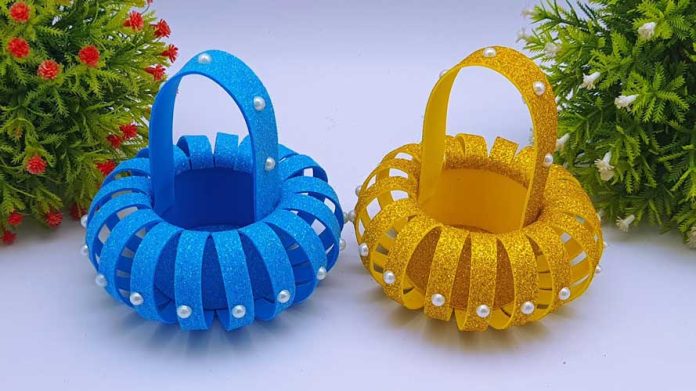
Tis the season of giving, and what better way to spread holiday cheer than with thoughtfully curated DIY gift baskets? In this step-by-step guide, we’ll explore amazing ideas for creating personalized and heartfelt gift baskets that will leave a lasting impression on your loved ones this Christmas.
Materials You’ll Need:
Before we dive into the creative process, let’s gather the essential materials for crafting your amazing DIY Christmas gift baskets:
- Baskets or containers: Choose a variety of sizes and styles to suit the theme of each gift basket.
- Filler material: Tissue paper, shredded paper, or fabric to add a decorative touch and cushion items.
- Gift items: Tailor these to the recipient’s interests and preferences.
- Ribbons and bows: For a festive and polished look.
- Tags or labels: To add a personal touch and identify the contents of each basket.
- Cellophane or clear wrap: Optional for wrapping the entire basket.
Now, let’s explore the step-by-step process of creating amazing DIY Christmas gift baskets:
Step 1: Choose a Theme for Each Basket
- Consider the interests and preferences of the recipient.
- Select a theme for each basket, such as a cozy night in, spa day, gourmet treats, or holiday baking.
Step 2: Select the Right Basket or Container
- Choose baskets or containers that complement the theme and size of your gifts.
- Ensure the baskets have enough space to accommodate all the items.
Step 3: Arrange Filler Material
- Line the bottom of each basket with tissue paper, shredded paper, or fabric to create a decorative and cushioned base.
Step 4: Arrange Gift Items Creatively
- Place the larger items in the center and arrange smaller items around them.
- Create layers by varying the heights of the items for visual interest.
Step 5: Add Festive Touches
- Tie festive ribbons and bows around the handles or sides of the baskets.
- Attach tags or labels with warm holiday messages or personalized notes.
Step 6: Wrap (Optional)
- If desired, wrap the entire basket in cellophane and tie it with a bow for a polished and professional finish.
Step 7: Personalize Each Basket
- Consider the recipient’s favorite colors, flavors, or scents when selecting items.
- Add a personal touch, such as a handwritten note or a small ornament that reflects their interests.
Step 8: Display and Deliver with Care
- Place the finished gift baskets under the Christmas tree or present them in person.
- Handle with care, especially if you’ve added fragile items.
Conclusion:
Creating amazing DIY Christmas gift baskets is a wonderful way to show your thoughtfulness and creativity during the holiday season. These personalized gifts convey warmth and care, making them a memorable and cherished part of your Christmas celebrations. So, gather your materials, let your creativity flow, and embark on a gift-giving journey that will bring joy to your loved ones. Happy crafting!


