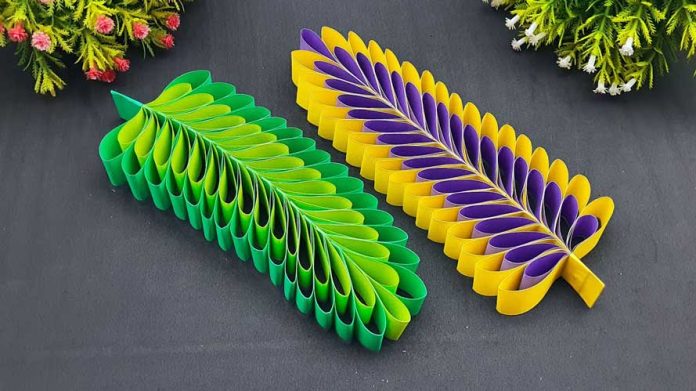
If you’re looking for a fun and creative way to bring the beauty of nature indoors, crafting paper leaves is the perfect project for you. Whether you want to decorate your living space, create unique handmade cards, or simply enjoy a relaxing DIY activity, making beautiful paper leaves is both easy and enjoyable. In this step-by-step guide, we’ll walk you through the process of creating stunning paper leaves that will add a touch of nature to any setting.
Materials Needed:
- Colored or patterned paper
- Pencil
- Scissors
- Craft glue
- Paints or markers (optional for additional detailing)
- Paintbrushes (if using paints)
- Twigs or floral wire (optional for stems)
Step 1: Gather Your Materials Collect all the materials you’ll need for this project. Choose a variety of colored or patterned papers to add diversity to your paper leaves. Ensure you have a comfortable workspace with plenty of room to spread out your materials.
Step 2: Select Leaf Shapes Using a pencil, draw the outline of your desired leaf shapes on the colored or patterned paper. You can choose from various leaf designs, such as oak leaves, maple leaves, or simple heart-shaped leaves. Experiment with different shapes and sizes to create a visually appealing assortment.
Step 3: Cut Out the Leaves Carefully cut out the leaf shapes following the outlines you’ve drawn. Take your time to create clean and precise edges. If you’re working with children, make sure to supervise them during this step.
Step 4: Add Details (Optional) For an extra touch of realism, consider adding details to your paper leaves. You can use paints or markers to add veins, spots, or gradients. This step allows you to unleash your creativity and make each leaf unique.
Step 5: Shape and Fold To give your paper leaves a more natural appearance, gently fold and crease them along the center or along the edges. This will create dimension and mimic the look of real leaves. Experiment with different folding techniques to achieve a variety of shapes.
Step 6: Arrange and Glue Before gluing the leaves together, arrange them in a way that pleases your eye. Once you’re satisfied with the arrangement, use craft glue to attach the leaves to each other. If you want to create a bouquet or centerpiece, consider attaching the leaves to twigs or floral wire to form stems.
Step 7: Let it Dry Allow your beautiful paper leaves to dry completely before handling them or placing them in a vase. This ensures that the glue sets properly, keeping your creation intact.
Conclusion: Congratulations! You’ve successfully crafted beautiful paper leaves that can be used for various creative projects. Whether you’re looking to add a seasonal touch to your home decor or create personalized gifts, these paper leaves are a charming and versatile addition. Enjoy the process of making these delightful creations and let your imagination run wild as you explore different colors, shapes, and styles. Happy crafting!


