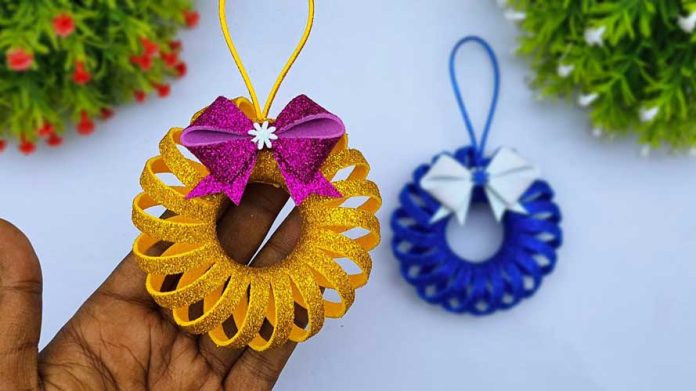
The holiday season brings with it a sense of warmth, joy, and creativity. One delightful way to add a touch of festive charm to your home is by crafting your own beautiful Christmas mini wreaths. These tiny wreaths can adorn your doors, walls, or even your holiday table settings, adding a dash of elegance to your decor. In this step-by-step guide, we’ll explore how to create stunning mini wreaths that will infuse your space with the magic of the season.
Materials You’ll Need:
Before we dive into the crafting process, let’s gather the essential materials required for making beautiful Christmas mini wreaths:
- Mini wreath forms: Available in various sizes and materials (foam, wire, grapevine, or even embroidery hoops).
- Floral wire: To secure decorations and create loops for hanging.
- Wire cutters: For cutting floral wire.
- Assorted greenery: Such as pine sprigs, eucalyptus, or artificial leaves.
- Decorative elements: Like ornaments, berries, pinecones, faux flowers, ribbon, or even cinnamon sticks.
- Hot glue gun and glue sticks: For securing decorations.
- Scissors: For trimming greenery and ribbon.
- Ribbon: For creating bows and loops for hanging.
- Clear sealant or hairspray (optional): To preserve the greenery.
Now, let’s explore the step-by-step process of creating beautiful Christmas mini wreaths:
Step 1: Choose Your Mini Wreath Form
- Start by selecting the mini wreath forms you’d like to work with. These can be foam, wire, grapevine, or even embroidery hoops.
- Consider the size and style that complements your holiday decor.
Step 2: Prepare Your Greenery and Decorations
- Trim your greenery into small sprigs or sections, making them easy to work with.
- Organize your decorative elements, such as ornaments, berries, pinecones, or ribbon, for easy access.
Step 3: Attach the Greenery
- Using floral wire, secure the greenery to the mini wreath form. Begin at one end and work your way around, layering the greenery to create a lush look.
- Ensure the wire is hidden beneath the greenery.
Step 4: Add Decorations
- Incorporate your chosen decorations into the wreath. Place them strategically, considering color balance and overall aesthetics.
- Secure decorations with hot glue or additional wire if needed.
Step 5: Create a Hanging Loop
- If you intend to hang your mini wreaths, cut a piece of ribbon to your desired length.
- Form a loop and attach it to the top of the wreath using floral wire.
Step 6: Preserve Your Wreath (Optional)
- To prolong the life of your beautiful Christmas mini wreaths, consider using a clear sealant or hairspray to protect the greenery from drying out.
- Allow the sealant to dry completely.
Step 7: Display Your Mini Wreaths
- Your beautiful Christmas mini wreaths are now ready to be displayed.
- Hang them on doorknobs, hooks, and windows, or use them as charming table centerpieces.
- Consider creating a collection of mini wreaths with varying designs and sizes for a cohesive holiday decor theme.
Conclusion:
Crafting beautiful Christmas mini wreaths is a delightful and creative way to infuse your holiday decor with elegance and charm. Each wreath you create becomes a unique work of art that adds warmth and festivity to your surroundings. So, gather your materials, let your imagination flourish, and embark on a crafting journey that will make your holiday celebrations even more special. Happy crafting!


