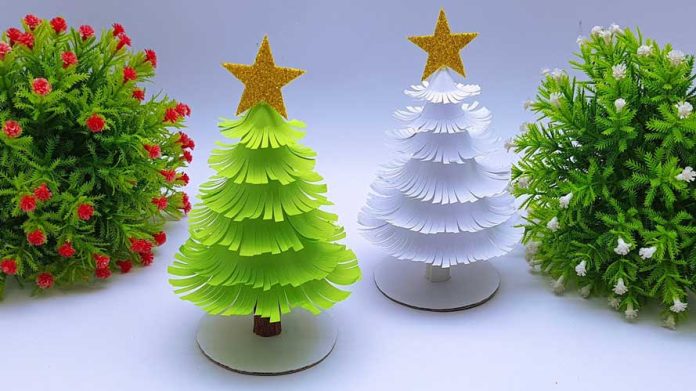
Experience the enchantment of crafting your own Christmas tree with our step-by-step guide on “Christmas Tree Making from Paper.” Dive into the world of creativity as we unfold the magic of transforming simple paper into a festive centerpiece for your holiday celebrations.
Materials You’ll Need:
To embark on this crafting journey, gather the following materials:
- Green construction paper or cardstock: For the body of your tree.
- Assorted colored paper: For ornaments and decorations.
- Scissors: Sharp and precise for cutting paper.
- Glue or tape: Choose an adhesive that securely binds paper.
- Ruler: To ensure precision in measurements.
- Optional embellishments: Glitter, sequins, or any other decorations of your choice.
Now, let’s dive into the step-by-step process of creating a Christmas tree from paper:
Step 1: Cut and Fold the Tree Base
Begin by cutting the green construction paper or cardstock into a triangle shape. Adjust the size based on your preference for a small tabletop tree or a larger centerpiece. Fold the triangle in half to create the base of your tree.
Step 2: Create Tree Layers
Cut smaller triangles from the green paper, decreasing in size. These will be the layers of your tree. As you cut, keep in mind the layering effect, ensuring each piece is slightly smaller than the one before.
Step 3: Assemble and Glue Layers
Arrange the layers in descending order, with the largest at the bottom and the smallest at the top. Glue each layer onto the folded base, creating a tiered effect. Ensure the layers align with the center fold for a symmetrical tree.
Step 4: Cut and Decorate Ornaments
Cut assorted shapes from colored paper to serve as ornaments. Stars, circles, or any festive shapes work well. Get creative and experiment with colors and patterns. Glue these ornaments onto the tree branches.
Step 5: Add a Trunk
Cut a small rectangle from brown paper to create the tree trunk. Glue it to the bottom of the folded base to complete the tree structure.
Step 6: Optional Embellishments
Enhance the festive feel by adding optional embellishments. Glitter, sequins, or even small bows can be glued onto the tree for a touch of sparkle.
Step 7: Allow for Drying Time
Once your Christmas tree is fully decorated, allow it to dry completely. This ensures that all elements are securely attached and ready for display.
Step 8: Display Your Paper Christmas Tree
Find the perfect spot to showcase your handmade creation. Whether it’s on a tabletop, mantelpiece, or as a centerpiece for your holiday table, let your paper Christmas tree bring joy to your space.
Conclusion:
Crafting a Christmas tree from paper is a delightful and budget-friendly way to infuse your home with holiday spirit. Follow this step-by-step guide to create a charming and festive centerpiece that adds a touch of handmade magic to your celebrations. Happy crafting!


