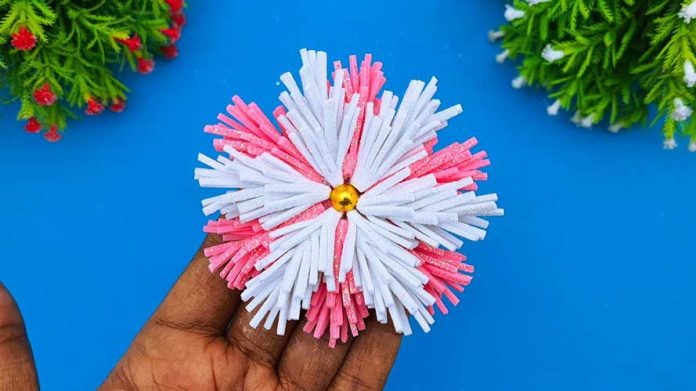
Are you ready to embark on a creative journey right from the comfort of your home? Let’s dive into the wonderful world of DIY 3D Foamiran flowers! With just a few simple materials and a touch of imagination, you can craft stunning three-dimensional flowers that will add beauty and elegance to any space. In this step-by-step guide, we’ll walk you through the process of creating your own Foamiran flowers at home.
Materials Needed:
Before we get started, let’s gather the materials you’ll need for this project:
- Foamiran sheets in various colors
- Scissors
- Heat gun or blow dryer
- Floral wire
- Glue gun and glue sticks
- Flower stamens or beads (optional)
- Floral tape (optional)
Step 1: Choose Your Foamiran Colors
The first step in creating your 3D Foamiran flowers is to choose the colors you want to use. Foamiran comes in a wide range of vibrant hues, so feel free to mix and match to create a bouquet that reflects your style and personality.
Step 2: Cut Out Your Flower Shapes
Using your scissors, carefully cut out flower shapes from the Foamiran sheets. You can create petals of various sizes and shapes to add depth and dimension to your flowers. Experiment with different shapes until you find a design you love.
Step 3: Shape Your Petals
Next, it’s time to give your flower petals some dimension. Using a heat gun or blow dryer, gently heat each Foamiran petal until it becomes pliable. Then, using your fingers, carefully shape the petals to create a natural curve. Repeat this process for each petal until you’re happy with the shape and texture.
Step 4: Assemble Your Flowers
Once you’ve shaped your petals, it’s time to assemble your flowers. Starting with the smallest petals, layer them on top of each other, securing them with a dab of hot glue between each layer. Continue adding petals, gradually increasing the size, until you’ve built up a full and beautiful flower. If desired, you can add flower stamens or beads to the center of your flower for added detail.
Step 5: Create Your Flower Center (Optional)
To create a realistic flower center, roll a small piece of Foamiran into a tight coil and secure it with hot glue. You can then attach this coil to the center of your flower using hot glue, or leave it as is for a simpler look.
Step 6: Attach Floral Wire
To give your flowers stability and flexibility, attach floral wire to the back of each flower using hot glue. This will allow you to bend and arrange your flowers as desired when it comes time to create your bouquet or arrangement.
Step 7: Arrange Your Flowers
Once your flowers are assembled and wired, it’s time to arrange them into a beautiful bouquet or arrangement. Play around with different combinations and placements until you find a design you love. You can also use floral tape to secure the stems together for a more cohesive look.
Step 8: Display Your Masterpiece
Once you’re happy with your Foamiran flower arrangement, it’s time to put it on display! Place it in a vase, jar, or basket, and proudly showcase your handmade creation in any room of your home.
Step 9: Enjoy Your Handiwork
Sit back, relax, and enjoy the beauty of your DIY 3D Foamiran flowers. Whether you’re displaying them in your own home or gifting them to a friend or loved one, your handmade flowers are sure to bring joy and happiness wherever they go.
Step 10: Experiment and Have Fun
Don’t be afraid to experiment with different flower shapes, sizes, and colors to create a truly unique bouquet or arrangement. Let your creativity flow, and have fun exploring all the possibilities that Foamiran flowers have to offer!
In conclusion, DIY 3D Foamiran flowers are a fantastic way to add a touch of elegance and charm to your home decor. With just a few simple materials and a bit of creativity, you can create stunning floral arrangements that will brighten up any space. So gather your supplies, unleash your imagination, and let the crafting begin!


