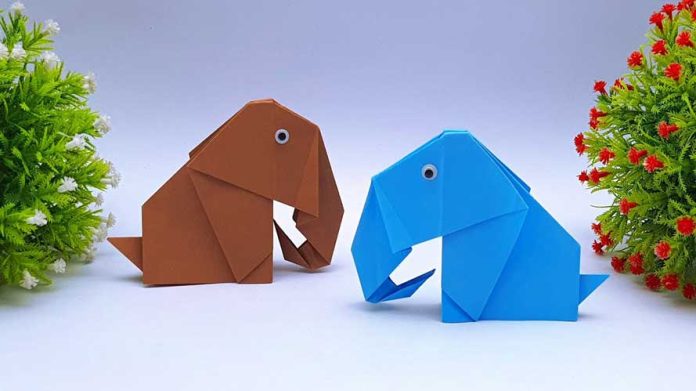
Bringing the magic of paper crafts to life, a DIY 3D paper elephant is an enchanting project that combines creativity and imagination. With just a few simple materials and a dash of artistic flair, you can create a stunning piece of decor that will captivate anyone who lays eyes on it. In this comprehensive guide, we’ll walk you through each step, from gathering materials to assembling your very own whimsical 3D paper elephant.
Materials Needed:
- Colored craft paper (grey, white, and your choice of accent color)
- Scissors
- Craft glue or adhesive tape
- Pencil
- Eraser
- Template (downloadable online or create your own)
Step-by-Step Guide:
Step 1: Gather Your Supplies Collect all the necessary materials listed above before you begin. Choose colors that resonate with your personal style or the intended decor theme.
Step 2: Download or Create a Template Search online for a 3D paper elephant template or draw your own. Ensure the template includes various parts of the elephant, such as the body, head, legs, and ears. Print the template and cut out the individual pieces.
Step 3: Trace the Template Place the template pieces on the respective colored craft papers and trace around them with a pencil. Carefully cut out the traced shapes using scissors.
Step 4: Assemble the Elephant’s Body Start by assembling the elephant’s body. Fold along the designated lines to create the 3D effect. Apply craft glue or adhesive tape to secure the tabs, forming the body’s structure.
Step 5: Create the Elephant’s Head Follow a similar process to create the elephant’s head. Assemble the head’s pieces, ensuring they fit snugly together. Attach the head to the body using glue or tape.
Step 6: Craft the Legs and Ears Construct the elephant’s legs and ears in the same manner as the body and head. Attach the legs to the body’s underside and the ears to the head.
Step 7: Add the Accent Color Use the accent color paper to create decorative elements like eyes, tusks, and a tail. Attach these features to the elephant’s body and head, giving it a delightful personality.
Step 8: Finishing Touches Inspect your 3D paper elephant for any loose ends or areas that require additional adhesive. Make any necessary adjustments to ensure your creation is secure and visually appealing.
Step 9: Display and Enjoy! Once you’re satisfied with your whimsical 3D paper elephant, find the perfect spot to display it. Whether it’s on a shelf, desk, or as a centerpiece, your creation is sure to spark conversations and admiration.
Conclusion:
Crafting a DIY 3D paper elephant is a delightful journey that combines artistic expression with hands-on creativity. Following this step-by-step guide, you’ve successfully created a stunning piece of decor that adds a touch of whimsy to any space. As you experiment with different colors and styles, you’ll discover the endless possibilities of paper crafting and the joy of bringing your imagination to life. Happy crafting!


