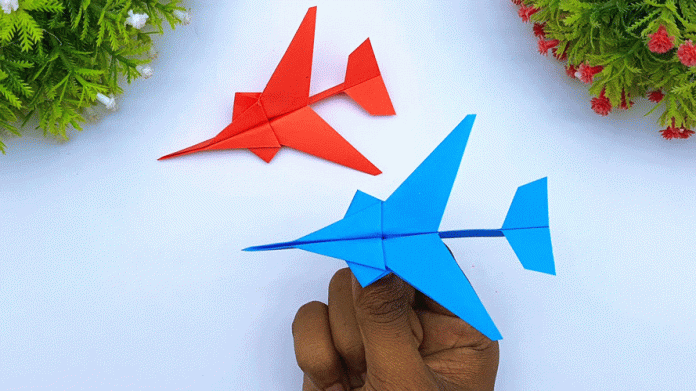
Building a toy aircraft by hand is a fun and rewarding project that allows you to get creative while making something special. In this guide, we’ll walk you through the process of creating your own DIY handmade mini toy aircraft. This craft is perfect for kids and adults alike, and it can be made using simple materials found around the house. Let’s get started on crafting your very own mini aircraft!
Materials You’ll Need:
- Cardboard or foam board
- Wooden craft sticks or popsicle sticks
- Scissors or craft knife
- Glue (hot glue gun or craft glue)
- Paint and paintbrushes
- Small rubber bands (optional, for a propeller)
- Markers or colored pens (for decorating)
- Ruler
- Pencil
- Decorative items like stickers, glitter, or small decals (optional)
Step 1: Gather Your Materials
Before starting, make sure you have all your materials ready. Choose cardboard or foam board for the main body of your aircraft, as they are sturdy yet easy to cut and shape. Wooden craft sticks or popsicle sticks will be used to create the wings and other parts.
Step 2: Design Your Aircraft
Sketch out a simple design for your mini aircraft on a piece of paper. Decide on the size and shape of the body, wings, and tail. This will help guide you as you cut out the pieces for your toy aircraft.
Step 3: Cut Out the Body and Wings
Using your design as a template, trace the outline of the aircraft body onto the cardboard or foam board. Carefully cut out the shape with scissors or a craft knife. Repeat this process to cut out the wings, tail fin, and other parts of the aircraft. Make sure to cut a slot in the body where the wings will be inserted.
Step 4: Assemble the Aircraft
Insert the wings into the slots on the aircraft body. If needed, use a little glue to secure them in place. Attach the tail fin at the back of the aircraft, ensuring it’s centered and straight. Allow the glue to dry completely before moving on to the next step.
Step 5: Add a Propeller (Optional)
If you’d like to add a propeller to your mini aircraft, take a small rubber band and loop it around the front of the aircraft body. Attach a small piece of cardboard or foam board to act as the propeller, securing it to the rubber band. When twisted and released, the propeller will spin, adding a fun interactive element to your toy.
Step 6: Paint and Decorate
Now it’s time to bring your aircraft to life with paint and decorations. Choose your favorite colors and paint the body, wings, and tail fin. Use markers or colored pens to add details like windows, doors, or logos. You can also use stickers, glitter, or small decals to give your aircraft a unique look.
Step 7: Final Touches
Inspect your mini aircraft and make any final adjustments. Ensure all parts are securely attached and that the paint and glue are fully dry. If you want, you can add a small loop of string to the top of the aircraft so it can be hung as a decoration.
Step 8: Play and Display
Your DIY handmade mini toy aircraft is now complete! You can use it as a fun toy, a decorative piece, or even as a gift. If you’re making these with kids, encourage them to create different models and designs for a whole fleet of mini aircraft.
Additional Tips:
- Experiment with different shapes and sizes for the wings and body to create unique aircraft designs.
- Use lightweight materials like foam board or balsa wood for a more durable toy aircraft.
- Add wheels or landing gear using small beads or buttons if you want your aircraft to roll.
Creating a DIY handmade mini toy aircraft is a delightful way to engage your creativity and enjoy a fun crafting project. Whether you’re making it for yourself or as a gift, this mini aircraft is sure to bring joy to anyone who sees it. Happy crafting!


