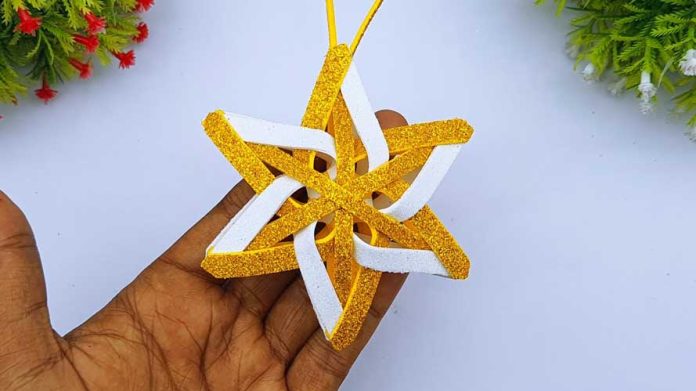
The holiday season is synonymous with tradition, joy, and creativity. Crafting your own DIY hanging Christmas tree ornaments is a wonderful way to infuse your tree with personal touches and cherished memories. Whether you’re a seasoned crafter or a newbie, this step-by-step guide will help you create beautiful ornaments that will become treasured heirlooms for years to come.
Materials You’ll Need:
Before we begin crafting, let’s gather the essential materials required for making your DIY hanging Christmas tree ornaments:
- Blank ornaments: You can use clear glass or plastic ornaments, wooden ornaments, or any other blank ornament base of your choice.
- Craft paint: In various colors for decorating.
- Paintbrushes: A range of sizes for different details.
- Acrylic paint pens: For precise designs and lettering (optional).
- Glitter, sequins, or rhinestones: For added sparkle (optional).
- Ribbon or twine: For creating ornament hangers.
- Craft glue or a hot glue gun: To secure decorations.
- Craft paper or stencils: For creating patterns (optional).
- Clear sealant or mod podge: To protect your finished ornaments (optional).
Now, let’s dive into the step-by-step process of creating your DIY hanging Christmas tree ornaments:
Step 1: Prepare Your Workspace
- Set up a clean and well-lit workspace with plenty of room to work comfortably.
- Cover your workspace with newspaper or a crafting mat to catch any paint or glitter.
Step 2: Paint Your Ornaments
- Decide on your ornament’s design and color scheme.
- Using craft paint and brushes, carefully paint the surface of the ornaments. You can go for classic holiday colors or get creative with your own unique palette.
- Allow the paint to dry completely before moving on to the next step.
Step 3: Add Decorative Details
- Once the base coat is dry, add decorative details using paint pens, stencils, or freehand designs. You can create intricate patterns, write holiday messages, or add personal touches.
- If you’re using glitter, sequins, or rhinestones, apply a thin layer of craft glue or use a hot glue gun to attach them to the ornaments.
- Let the ornaments dry thoroughly.
Step 4: Create Ornament Hangers
- Cut small lengths of ribbon or twine to create hangers for your ornaments.
- Loop one end through the ornament’s top and tie a knot or bow at the other end.
Step 5: Seal Your Ornaments (Optional)
- To preserve your ornaments and add a glossy finish, you can apply a clear sealant or mod podge over the painted surface.
- Allow the sealant to dry completely.
Step 6: Display Your DIY Ornaments
- Your DIY hanging Christmas tree ornaments are now ready to be displayed.
- Hang them on your Christmas tree, garlands, or around your home for a personalized and festive touch.
- Consider gifting them to loved ones for a meaningful and heartfelt present.
Conclusion:
Crafting your own DIY hanging Christmas tree ornaments is a wonderful way to infuse the holiday season with your unique style and creativity. Each ornament you create becomes a cherished part of your holiday tradition, carrying with it the love and care you put into making it. So, gather your materials, let your imagination run free, and embark on a crafting journey that will make your holiday celebrations even more special. Happy crafting!


