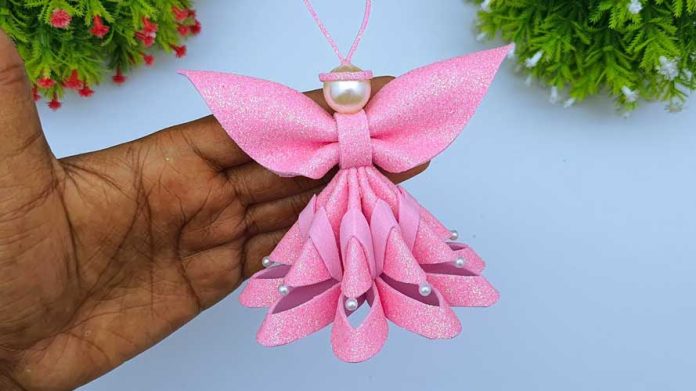
The holiday season is a time for cherished traditions and the joy of giving. Creating your own handmade Christmas tree ornaments adds a personal touch to your decorations and makes for memorable gifts. In this step-by-step guide, we’ll explore various techniques and ideas to craft beautiful, one-of-a-kind ornaments that will adorn your tree and warm your heart.
Materials You’ll Need:
Before we dive into the crafting process, let’s gather the essential materials required for making handmade Christmas tree ornaments:
- Ornament bases: You can use clear glass or plastic ornaments, wooden shapes, or salt dough for a homemade base.
- Craft paint: In various colors for decorating.
- Paintbrushes: A range of sizes for different details.
- Acrylic paint pens: For precise designs and lettering (optional).
- Glitter, sequins, or rhinestones: For added sparkle (optional).
- Ribbon or twine: For creating ornament hangers.
- Craft glue or a hot glue gun: To secure decorations.
- Scissors: For trimming and cutting materials.
- Clear sealant or mod podge (optional): To protect your finished ornaments.
- Salt dough recipe ingredients (if making dough ornaments).
Now, let’s explore the step-by-step process of creating handmade Christmas tree ornaments:
Step 1: Choose Your Ornament Base
- Start by selecting the ornament base you’d like to work with. Clear ornaments are versatile and can be filled with various materials, while wooden or salt dough bases allow for personalized shapes.
Step 2: Prepare Your Base (if necessary)
- If you’re using salt dough, follow a recipe to create the dough.
- Roll out the dough and use cookie cutters or freehand shaping to create your ornament shapes.
- Bake the dough shapes according to the recipe instructions and allow them to cool.
Step 3: Paint the Base
- Begin by applying a base coat of craft paint to your ornament base. This serves as the background color.
- Allow the paint to dry completely before adding details.
Step 4: Add Decorative Details
- Once the base coat is dry, use paintbrushes, acrylic paint pens, or other tools to add decorative details. Get creative with designs, patterns, and holiday motifs.
- If you’re using glitter, sequins, or rhinestones, apply clear craft glue and carefully place them on the ornament.
- Allow the decorations to dry thoroughly.
Step 5: Create an Ornament Hanger
- Cut a piece of ribbon or twine to your desired length.
- Form a loop and tie the ends together.
- Attach the loop to the top of the ornament using clear craft glue or by inserting it into the ornament’s cap.
Step 6: Seal Your Ornament (Optional)
- To protect your ornaments and add a glossy finish, you can apply a clear sealant or mod podge over the painted surface.
- Allow the sealant to dry completely.
Step 7: Hang and Display Your Handmade Ornaments
- Your handmade Christmas tree ornaments are now ready to be displayed.
- Hang them on your Christmas tree, garlands, or give them as heartfelt gifts to loved ones.
Conclusion:
Crafting handmade Christmas tree ornaments is a heartwarming and creative way to infuse your holiday decor with personal touches and cherished memories. Each ornament you create becomes a symbol of love and creativity, adding warmth and charm to your celebrations. So, gather your materials, let your imagination run free, and embark on a crafting journey that will make your holiday season even more special. Happy crafting!


