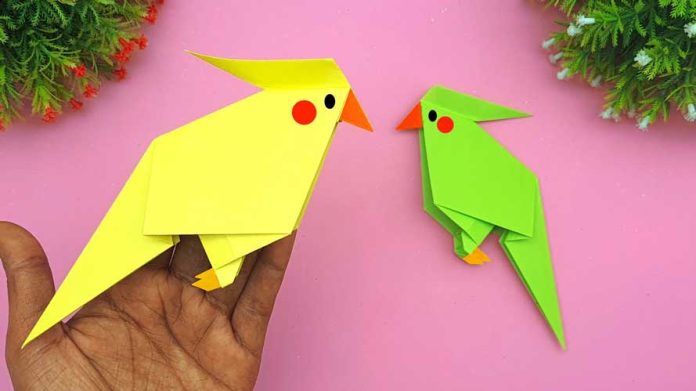
If you’re a craft enthusiast or looking for a creative and eco-friendly project, crafting handmade paper birds is a delightful endeavor. In this step-by-step guide, we’ll walk you through the process of making your very own colorful paper bird. So, let’s spread our creative wings and dive into the world of handmade paper bird making!
Materials You’ll Need:
- Colored paper sheets
- Pencil
- Scissors
- Glue
- Googly eyes
- Markers or colored pens
- Template (optional)
Step 1: Gather Your Materials
Before you embark on your paper bird adventure, ensure you have all the necessary materials ready. Choose vibrant colored papers to add life to your feathered friend. Make sure your scissors are sharp, and the glue is within reach.
Step 2: Choose Your Bird Design
Decide on the type of bird you want to create. You can either freehand your design or find templates online. For beginners, templates can serve as a helpful starting point. Choose a design that matches your skill level and creativity.
Step 3: Trace and Cut Out the Body Parts
Using a pencil, trace the bird body parts on the colored paper. Typically, a bird design includes a body, wings, beak, and tail. Feel free to experiment with different shapes and sizes to personalize your creation. Once traced, carefully cut out each piece.
Step 4: Assemble the Body
Take the body piece and start assembling your bird. Use glue to attach the wings to the sides and the tail to the back. This is where you can get creative – experiment with wing angles and tail positions to give your bird a unique personality.
Step 5: Add the Beak and Eyes
Attach the beak to the front of the bird’s face. If you’re using googly eyes, glue them on for a fun, animated look. Alternatively, you can draw eyes using markers or colored pens. This step brings your bird to life, so don’t be afraid to let your imagination soar.
Step 6: Personalize with Details
This is the part where you can truly make your paper bird one-of-a-kind. Add details like feathers, patterns, or even tiny accessories. Get creative with colors and textures to enhance the visual appeal of your handmade creation.
Step 7: Let it Dry
Allow your paper bird to dry completely before handling or displaying it. This ensures that all the parts are securely attached and won’t come loose.
Step 8: Display Your Handmade Paper Bird
Once your paper bird is dry and ready, find the perfect spot to display your masterpiece. Whether it’s perched on a shelf, hanging from a mobile, or adorning a greeting card, your handmade creation is sure to bring joy to anyone who sees it.
Creating handmade paper birds is a delightful and eco-friendly way to express your artistic side. With just a few simple materials and a dash of creativity, you can craft charming avian wonders that add a touch of whimsy to any space. So, gather your supplies, spread your creative wings, and let the crafting adventure take flight!


