Origami is a beautiful and ancient art form that originated in Japan. The word “origami” comes from the Japanese words “ori,” meaning “folding,” and “kami,” meaning “paper.” Origami involves folding a single sheet of paper into a variety of different shapes and designs.
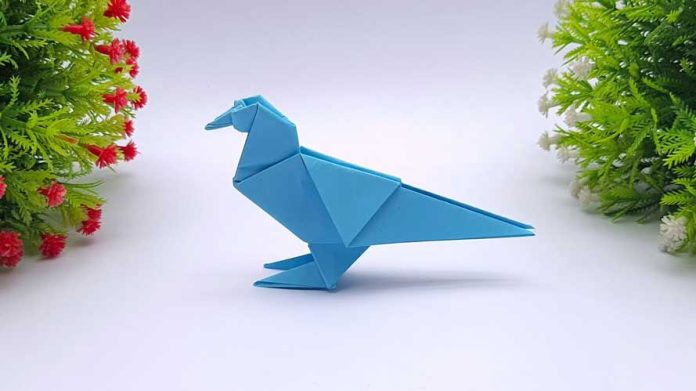
Folding an origami pigeon is a great way to get started with this art form. Not only is it relatively simple and easy to follow, but it also results in a beautiful and unique creation.
So, let’s get started with our step-by-step guide on how to fold an origami pigeon.
Materials needed:
- Square sheet of paper (preferably origami paper, but any square paper will do)
- Clear workspace
Step 1: Start with a square sheet of paper Take your square sheet of paper and lay it flat on your workspace with the colored side facing down.
Step 2: Fold the paper in half Fold the paper in half diagonally, creasing it well, and then unfold it back to its original position. This crease will help guide you in the next steps.
Step 3: Fold the top corner down Take the top layer of paper on the right side and fold it down along the center crease you made in step 2. Repeat this step on the left side.
Step 4: Fold the top corners in Take the top layer of paper on the right side and fold it in towards the center crease, creating a diagonal fold. Repeat this step on the left side.
Step 5: Fold the bottom corners up Take the bottom layer of paper on the right side and fold it up towards the center crease, creating a diagonal fold. Repeat this step on the left side.
Step 6: Fold the top point down Take the top layer of paper and fold it down towards the bottom of the paper, creasing it well. This fold will become the head of your pigeon.
Step 7: Fold the wings Fold the paper in half along the center crease, with the head of the pigeon facing up. Take the top layer of paper on the right side and fold it down, creating the right wing. Repeat this step on the left side to create the left wing.
Step 8: Fold the tail Take the bottom layer of paper and fold it up towards the head of the pigeon, creating the tail.
Step 9: Shape the pigeon Now that you have folded all of the necessary components, it’s time to shape your pigeon. Gently fold the wings and tail to create a more three-dimensional shape. You can also adjust the head and body of the pigeon to your liking.
And there you have it! Your very own origami pigeon. Congratulations on completing your first origami project. With practice, you can create more complex designs and develop your skills as an origami artist.
Conclusion:
Folding an origami pigeon is a fun and easy way to get started with origami. It requires only a few basic folds and can be completed with a single square sheet of paper. So, grab some paper and start folding!


