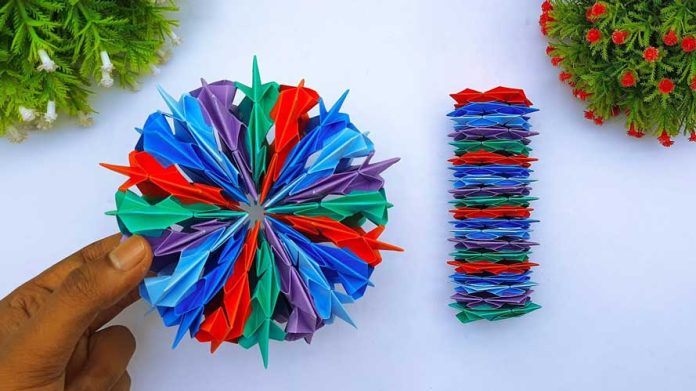
Unleash your creativity with this fun and educational project: how to make a paper kaleidoscope! A kaleidoscope is a fascinating optical toy that creates beautiful, changing patterns through the reflection of light and colors. In this step-by-step guide, we’ll show you how to craft your own paper kaleidoscope using simple materials. Let’s dive into the magical world of kaleidoscopes!
Materials You’ll Need:
- A sheet of cardstock or thick paper
- Scissors
- Clear plastic sheet or transparency film
- Craft knife (optional)
- Ruler
- Pencil
- Tape or glue
- Small, colorful beads, sequins, or confetti
- Aluminum foil or reflective paper
- Decorative paper or markers (optional)
Step 1: Gather Your Materials
Make sure you have all the necessary materials before you begin. Choose bright and colorful beads or sequins to create stunning patterns in your kaleidoscope.
Step 2: Create the Kaleidoscope Tube
Take the sheet of cardstock or thick paper and cut it into a rectangle measuring about 6 inches by 8 inches. Roll the rectangle into a tube shape, overlapping the edges slightly, and secure it with tape or glue. This will be the body of your kaleidoscope.
Step 3: Prepare the Reflective Surface
Cut three strips of aluminum foil or reflective paper, each measuring about 6 inches long and 1 inch wide. Fold each strip in half lengthwise to create a sharp crease. These will act as the mirrors inside the kaleidoscope.
Step 4: Assemble the Mirrors
Arrange the three folded strips into a triangular prism shape, with the reflective sides facing inward. Secure the edges together with tape or glue. This triangular prism will fit snugly inside the kaleidoscope tube.
Step 5: Insert the Mirrors into the Tube
Carefully insert the triangular prism into the kaleidoscope tube. Make sure it fits snugly and reaches from one end of the tube to the other.
Step 6: Create the Viewing Window
Cut a circle from the clear plastic sheet or transparency film, slightly larger than the diameter of the kaleidoscope tube. Tape or glue this circle to one end of the tube. This will be the viewing window of your kaleidoscope.
Step 7: Add the Colorful Beads
On the other end of the tube, place a small pile of colorful beads, sequins, or confetti. These will create the beautiful patterns you see when you look through the kaleidoscope.
Step 8: Seal the End
Cut another circle from the clear plastic sheet or transparency film and secure it over the end of the tube with the beads, ensuring they are enclosed within. Use tape or glue to seal it tightly.
Step 9: Decorate the Kaleidoscope
(Optional) Decorate the outside of your kaleidoscope with colorful paper, markers, or stickers to give it a personalized touch.
Step 10: Test Your Kaleidoscope
Look through the viewing window and rotate the kaleidoscope slowly. Watch as the colorful patterns shift and change with the movement of the beads. Enjoy the mesmerizing display!
Additional Tips:
- Experiment with different sizes and shapes of beads for varied patterns.
- Try using colored cellophane or tinted plastic for the end pieces to add different hues to your patterns.
- Make multiple kaleidoscopes with different designs and compare the patterns they create.
Creating a paper kaleidoscope is a wonderful way to explore the principles of light and reflection while enjoying a hands-on craft. By following this guide on how to make a paper kaleidoscope, you’ll have a beautiful and intriguing toy that provides endless visual delight. Happy crafting!


