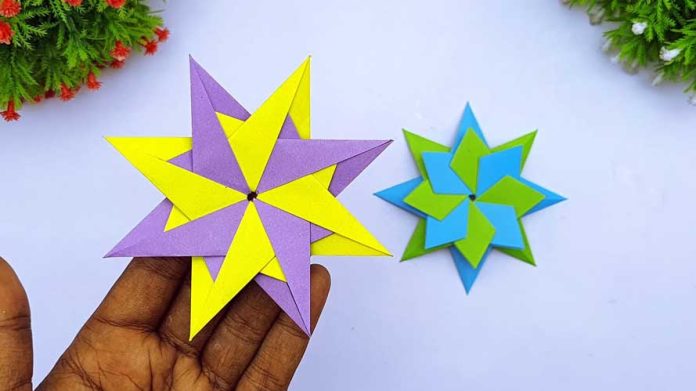
Origami, the art of paper folding, offers endless possibilities for creativity and relaxation. In this beginner-friendly guide, we’ll explore how to make an easy origami star step by step. Whether you’re new to origami or a seasoned paper folder, crafting these charming stars is a delightful way to spend some creative time. Let’s dive into the wonderful world of origami and create beautiful stars together.
Materials Needed:
- Square sheets of paper (colored or patterned, 6×6 inches recommended)
- Scissors (optional)
Step 1: Gather Your Materials Start by gathering all the materials needed for this simple origami project. Choose colorful or patterned paper to add visual interest to your stars. Ensure you have a flat and clean surface to work on.
Step 2: Fold the Paper Diagonally Take your square sheet of paper and fold it diagonally from one corner to the opposite corner, creating a triangle. Make sure the edges align perfectly and crease the fold firmly.
Step 3: Fold in Half Horizontally Fold the triangle in half horizontally, bringing the bottom corner to meet the top corner. Press down on the fold to create a crease, then unfold the paper.
Step 4: Fold the Bottom Corner Up Take the bottom corner of the triangle and fold it upwards, aligning it with the top edge of the triangle. Crease the fold well to secure it in place.
Step 5: Fold the Top Corner Down Now, take the top corner of the triangle and fold it downwards, tucking it under the flap created in the previous step. This will create a smaller triangle shape at the top of the paper.
Step 6: Fold the Sides Inward Next, fold the left and right corners of the triangle inwards towards the center, aligning them with the bottom edge of the triangle. This will create a diamond shape with a point at the top.
Step 7: Fold the Top Flap Down Take the top flap of the diamond shape and fold it downwards, tucking it under the layers of paper. This will create a smaller diamond shape with a pointed tip.
Step 8: Tuck in the Flaps To secure the shape of your origami star, tuck the flaps on both sides of the diamond under the layers of paper. Press down firmly to ensure the flaps stay in place.
Step 9: Adjust and Finish Gently adjust the points of your origami star to create a symmetrical shape. Your easy origami star is now complete! You can make multiple stars using the same steps and experiment with different paper colors and sizes.
Conclusion: Congratulations! You’ve successfully learned how to make an easy origami star step by step. These charming stars can be used as decorations, ornaments, or even as embellishments for cards and gifts. Enjoy the process of folding and creating your own little galaxy of origami stars. Happy folding!


