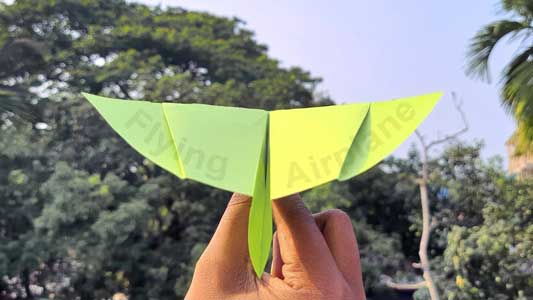
Remember the excitement of launching a paper airplane and watching it soar through the air? Making flying paper airplanes is not only a fun activity but also a way to explore aerodynamics and unleash your creativity. In this step-by-step guide, we will walk you through the process of creating different types of flying paper airplanes. Get ready to experience the thrill of flight and become a paper pilot!
Materials Needed:
- A sheet of paper (standard letter size or A4)
- Optional: Scissors for advanced designs
- Optional: Markers or colored pencils for decorating
Step 1: Choose the Right Paper: Start by selecting a sheet of paper suitable for making a flying paper airplane. Standard letter size or A4 paper is an ideal choice. Ensure that the paper is clean and free from wrinkles to maximize the flight performance.
Step 2: Basic Dart Design: Let’s begin with a basic dart design, which is simple yet capable of impressive flights. Follow these steps to create your first flying paper airplane:
- Fold the paper in half lengthwise, creasing along the center.
- Unfold the paper and fold the top corners inward, meeting at the center crease. This creates a triangle shape at the top.
- Fold the newly formed triangle down along the center crease, creating a smaller triangle.
- Fold the two sides of the triangle inward, aligning with the center crease, to form a point at the bottom.
- Fold the entire paper in half along the center crease, creating wings.
Step 3: Test and Adjust: Gently throw your paper airplane and observe its flight. Adjust the wing shape or the angle of the wings to improve performance. Experimentation is key to finding the perfect balance for longer flights.
Step 4: Explore Different Designs: Now that you have mastered the basic dart design, it’s time to explore other flying paper airplane designs. Here are a few popular ones to try:
- The Glider: Create longer flights with a glider design by adding larger wings and a curved body.
- The Stunt Plane: Construct a stunt plane with movable flaps on the wings for added control and aerobatic maneuvers.
- The Delta Wing: Make a sleek delta wing design for faster and more agile flights.
Step 5: Advanced Techniques: For those seeking a greater challenge, you can experiment with advanced techniques such as:
- Adding weight to the nose for increased stability.
- Incorporating different wing shapes and sizes to alter flight characteristics.
- Using scissors to create intricate folds and designs for more aerodynamic planes.
Step 6: Decorate and Personalize: Let your creativity soar by decorating your paper airplanes with markers or colored pencils. Add designs, patterns, or even draw windows to give your flying creations a unique and personalized touch.
Step 7: Flight Competitions and Experiments: Invite friends or family members to participate in paper airplane flight competitions. Measure the distance traveled or create target landing zones to add an element of challenge and excitement. You can also experiment with different launch techniques and launch angles to see how they affect flight performance.
Conclusion:
Making flying paper airplanes is a fantastic way to explore the principles of aerodynamics, engage in hands-on creativity, and experience the joy of flight. By following this step-by-step guide, you’ve learned the fundamentals of creating various types of paper airplanes. From basic darts to advanced designs, the sky is the limit in terms of possibilities. So grab a sheet of paper, fold it with care, and watch as your creations take flight. Let your imagination soar, and embrace the wonders of paper aviation!


