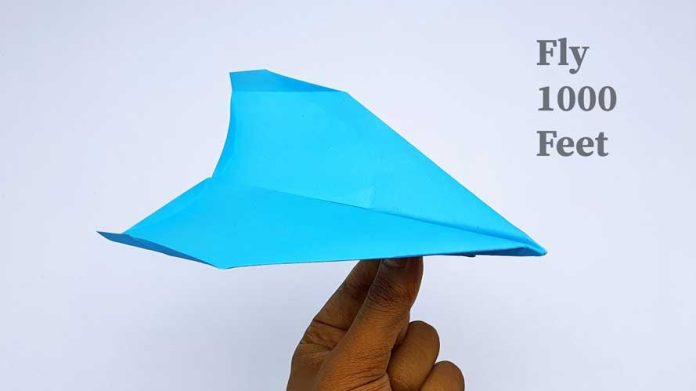
Are you ready to experience the joy of launching a paper airplane that soars through the air with grace and precision? In this comprehensive guide, we’ll take you on a journey of crafting and aerodynamics as we explore how to make a paper airplane that flies. Get ready to unleash your inner aviator and learn the secrets to creating high-flying paper planes that will amaze and delight you. Let’s dive into the world of paper airplanes and embark on an exciting adventure!
Materials Needed: Before we get started, gather the following materials:
- A sheet of letter-sized paper (8.5 x 11 inches)
- A flat and clean surface to work on
Step 1: Preparing the Paper Begin by selecting a sheet of letter-sized paper. Ensure that it is free from any creases or wrinkles for optimal performance. If needed, flatten the paper by gently running your hand over it.
Step 2: Folding the Wings Place the paper in landscape orientation (horizontal). Take the top-right corner and fold it diagonally towards the bottom-left corner, forming a triangle. Ensure that the edges align precisely, and crease the fold firmly. Unfold the triangle to reveal the rectangular shape again.
Step 3: Forming the Body Next, fold the paper in half horizontally, bringing the top edge down to meet the bottom edge. This fold will create the central crease and define the body of your paper airplane.
Step 4: Creating the Wing Flaps With the paper still folded in half, take the top-left corner and fold it diagonally towards the central crease, forming a smaller triangle. Repeat this step for the top-right corner. These folds will create wing flaps that provide stability and lift during flight.
Step 5: Shaping the Wings Now, fold the wing flaps outward along the existing diagonal folds. The top edge of each wing flap should align with the top edge of the paper, while the bottom edges should meet the central crease. This step creates the wing shape and gives your paper airplane its lift.
Step 6: Perfecting the Wing Tips For improved aerodynamics, fold the outer edges of the wing tips slightly upward. This slight upward fold will help stabilize the flight and prevent the paper airplane from veering off course.
Step 7: Final Adjustments and Test Flight Take a moment to review your paper airplane and make any necessary adjustments. Ensure that all the folds are crisp and well-defined. Gently run your fingers along the wings to smooth out any creases. When you’re ready, find an open space and launch your paper airplane with a gentle throw, observing how it glides through the air.
Conclusion: Congratulations! You’ve successfully learned how to make a paper airplane that flies. Through careful folds and adjustments, you have transformed a simple sheet of paper into a soaring creation. Remember, experimentation is key to discovering the perfect design and flight characteristics. Explore different paper sizes, weights, and folding techniques to unleash your creativity and achieve even more impressive flights. So, gather your materials, follow the step-by-step instructions in this guide, and let your paper airplane take flight as you embrace the joy and wonder of aviation!


