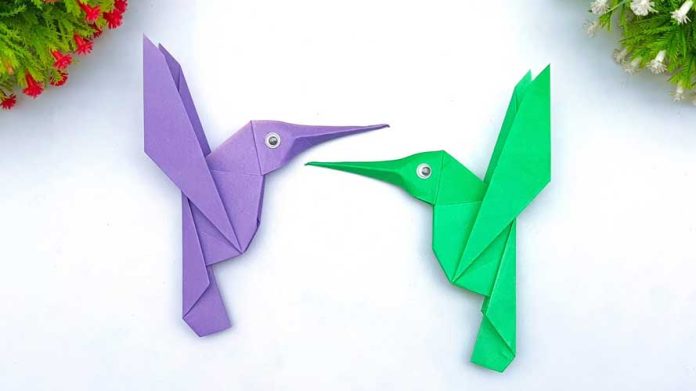
Paper crafts are a delightful way to unleash your creativity and bring beautiful creations to life. In this step-by-step guide, we will walk you through the process of making charming paper crafts hummingbirds. Whether you’re a seasoned crafter or a beginner, this tutorial will help you create stunning paper hummingbirds that will capture hearts and imaginations. So gather your materials and let’s get started!
Materials Needed:
- Colored paper (various shades)
- Scissors
- Pencil
- Glue stick
- Black marker or pen
- Craft wire or pipe cleaners (optional for added stability)
- Templates (optional, can be found online or created freehand)
Step 1: Gathering Inspiration and Designing Begin by researching and gathering inspiration for your paper hummingbird design. Observe real hummingbirds and take note of their unique features and vibrant colors. Use this inspiration to create your own design or find printable templates online.
Step 2: Tracing and Cutting Using your chosen template or freehand drawing, trace the outline of the hummingbird onto the colored paper of your choice. Carefully cut out the traced shape using scissors, making sure to follow the lines precisely for a clean and accurate cut.
Step 3: Wings, Tail, and Details To add dimension and detail to your paper hummingbird, cut out smaller pieces of colored paper to represent the wings and tail. Use the original template or your imagination to create unique patterns and shapes. Attach these pieces to the main body of the hummingbird using a glue stick, ensuring they align properly.
Step 4: Beak, Eyes, and Feathers Cut out a small triangle shape for the beak using a contrasting color of paper. Attach it to the front of the hummingbird’s face using glue. For the eyes, use a black marker or pen to draw small dots on the face. To create the feathers, cut thin strips of colored paper and attach them to the wings and tail, slightly curling the edges for added effect.
Step 5: Adding Details and Personal Touches This is where you can let your creativity shine. Use markers, colored pencils, or even glitter to add intricate details and patterns to your hummingbird. Experiment with different color combinations and designs to make your creation truly unique.
Step 6: Optional: Adding Support If you want your paper hummingbird to stand or hang, you can attach a craft wire or pipe cleaner to the back of the body. Bend the wire to create a loop for hanging or a stand for display.
Step 7: Display and Enjoy Once your paper crafts hummingbird is complete, find the perfect spot to showcase your masterpiece. You can create a mobile, attach it to a wall, or even make a greeting card. Let your imagination guide you.
Conclusion:
Making paper crafts hummingbirds is a fun and rewarding activity that allows you to explore your artistic side. By following this step-by-step guide, you’ve learned how to create beautiful paper hummingbirds from scratch. Remember, practice makes perfect, so don’t be afraid to experiment and add your personal touch to each creation. Enjoy the process, embrace your creativity, and let your paper hummingbirds take flight!


