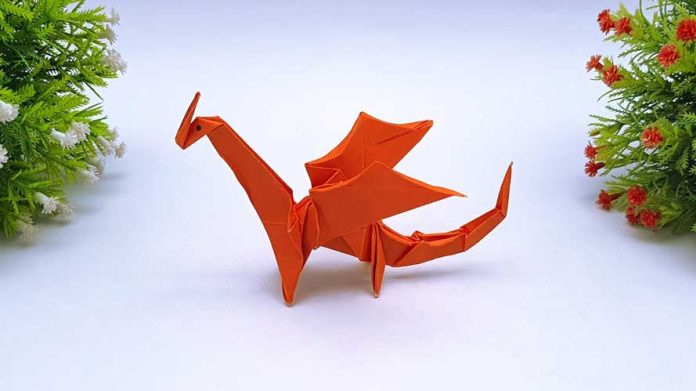
Creating paper dragons is an enchanting craft that combines artistry, precision, and imagination. Whether you’re a beginner or a seasoned crafter, this comprehensive guide will walk you through the step-by-step process of making your very own mesmerizing paper dragon. Get ready to embark on a journey of creativity and bring a mythical creature to life with paper!
Materials Needed: Before we dive into the process, let’s gather the materials required to make a paper dragon. You’ll need:
- Colored craft paper or origami paper
- Scissors
- Glue stick or craft glue
- Pencil
- Ruler
- Googly eyes (optional)
- Markers or colored pencils (optional)
- Decorative materials like glitter, sequins, or stickers (optional)
Step 1: Designing the Dragon Start by envisioning the type of dragon you want to create. Will it be fierce and majestic or cute and friendly? Sketch your dragon’s body, head, wings, and tail on a sheet of paper to plan its overall structure and dimensions. This step will serve as your blueprint throughout the crafting process.
Step 2: Tracing and Cutting the Dragon Template Transfer the design elements onto colored craft paper or origami paper using a pencil. Be sure to trace each section of the dragon, including the body, head, wings, and tail. Once traced, carefully cut out each template using scissors. These templates will serve as the base for your paper dragon.
Step 3: Assembling the Body Using the glue stick or craft glue, attach the body pieces together according to your design. Take your time to ensure a secure bond between the sections. Remember to leave an opening for stuffing the dragon later if you desire a three-dimensional effect.
Step 4: Adding the Head, Wings, and Tail Attach the head, wings, and tail to the body using glue. Pay attention to the positioning and alignment to create a visually appealing and balanced dragon. You may use small folds or additional glue tabs for extra stability if needed.
Step 5: Adding Details and Embellishments Now comes the fun part—adding personality and charm to your paper dragon. Let your creativity soar by decorating the dragon’s features with markers, colored pencils, or other embellishments. Don’t forget to attach googly eyes to bring your dragon to life!
Step 6: Finishing Touches Take a moment to review your dragon and make any necessary adjustments. Ensure that all the sections are securely attached and the overall appearance is as desired. Feel free to add additional decorative elements like glitter, sequins, or stickers to enhance the dragon’s allure.
Step 7: Display and Enjoy Congratulations! You’ve successfully created a stunning paper dragon. Find a special place to display your masterpiece—a shelf, a desk, or even hanging from the ceiling. Share your creation with friends and family, and let the mythical creature inspire awe and wonder in all who behold it.
Conclusion: Making a paper dragon is a gratifying craft that allows you to channel your artistic flair and explore the world of fantasy. With this step-by-step guide, you now possess the knowledge to create your very own paper dragon masterpiece. Remember, each dragon you create is unique, reflecting your creativity and imagination. So, gather your materials, embark on this creative adventure, and let your paper dragon take flight into a world of enchantment!


