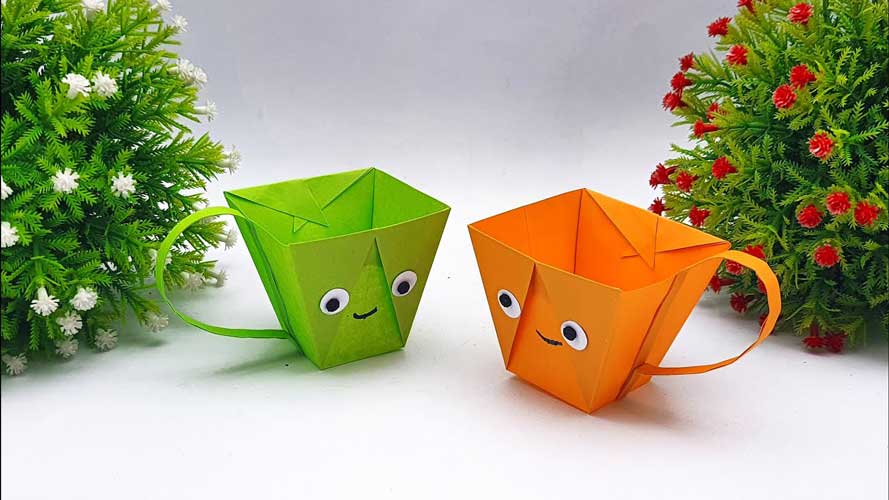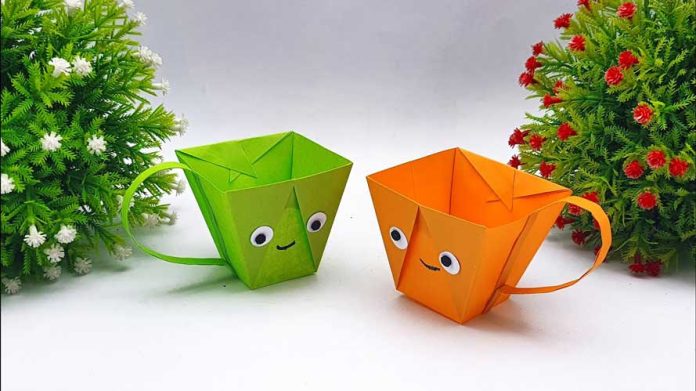
Making paper cups is not only an eco-friendly alternative to plastic cups, but it can also be a fun activity to do with friends and family. In this guide, we will show you how to make paper mini cups that are perfect for parties, events, or anytime you want to serve small portions of drinks or snacks.
Materials you’ll need:
- Colorful paper (printer paper or construction paper works well)
- Scissors
- Ruler
- Pencil
- Glue or double-sided tape
- Decorative stickers (optional)
Step 1: Choose your paper Select the paper of your choice for making the mini cups. Printer paper and construction paper are popular choices, but you can also experiment with other types of paper such as origami paper or even wrapping paper.
Step 2: Cut the paper Cut the paper into squares of equal size. For mini cups, we recommend using paper squares that are 4 inches by 4 inches. You can use a ruler and pencil to mark the squares before cutting them out with scissors.
Step 3: Fold the paper Take a paper square and fold it in half diagonally, creasing the fold with your fingers. Then, fold the paper in half again diagonally, creasing the fold with your fingers. You should now have a smaller square with diagonal creases.
Step 4: Fold the corners Unfold the paper square and fold one corner of the paper to the center crease. Repeat this step with the opposite corner. You should now have a diamond shape with two flaps at the bottom.
Step 5: Fold the flaps Take one of the flaps at the bottom of the diamond and fold it up to meet the top point of the diamond. Repeat this step with the other flap. You should now have a triangular shape.
Step 6: Fold the sides Take one of the sides of the triangular shape and fold it inwards to the center crease. Repeat this step with the other side. You should now have a small triangle with a flap at the bottom.
Step 7: Fold the flap Take the flap at the bottom of the triangle and fold it upwards, creasing the fold with your fingers. This will create the base of the mini cup.
Step 8: Secure the edges Apply glue or double-sided tape to the edges of the paper triangle and bring the edges together to form the mini cup. Hold the edges together for a few seconds to allow the glue to dry.
Step 9: Decorate (optional) If you want to add a personal touch to your mini cups, you can decorate them with stickers or markers. Get creative and have fun with it!
Step 10: Enjoy! Your paper mini cups are now ready to use. Fill them with your favorite drinks or snacks and enjoy!
Conclusion: Making paper mini cups is a simple and fun DIY project that can be done with minimal materials. With just a few folds and some glue, you can create your own eco-friendly cups that are perfect for parties, events, or anytime you want to serve small portions of drinks or snacks. So grab some paper, scissors, and glue, and get creative with your mini cups!


